|
8. First fittings |
|
 |
Continuing with the deck, another session of sanding and filling. |
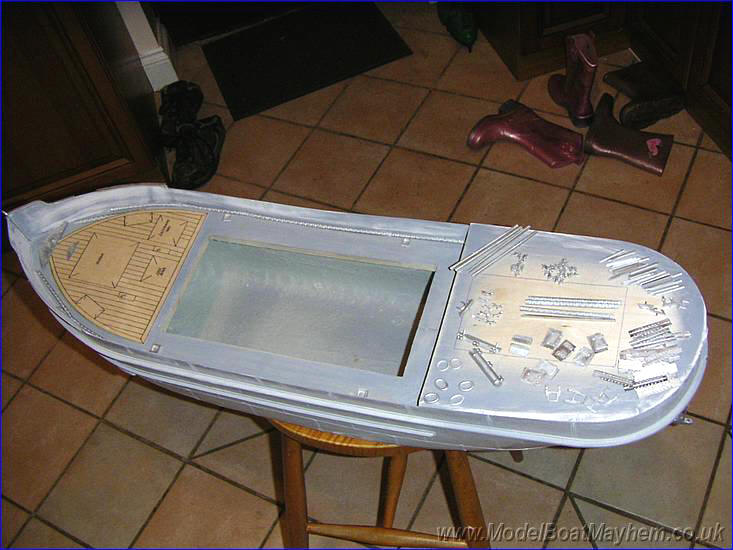 |
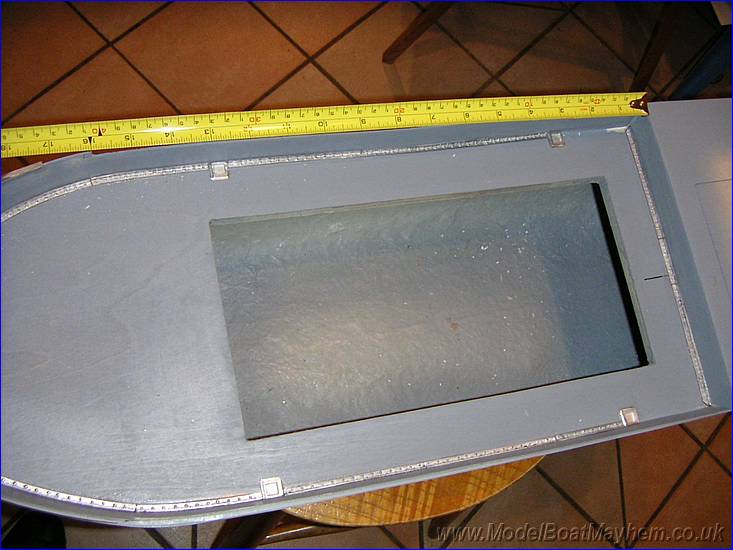
Next job was weighing up the
proper wood fore deck to see how much of the edge of the functional deck
is showing when these proper decks are fitted I also wanted to see how
good a fit they were. We also had a quick count up of what fittings were
in the bags and just checked where they would go. |
 |
As you can see the front deck doesn't go anywhere near the gunwales (gunnels) but this is correct. The real Puffers were steel and iron built including the decks, wood was overlaid to provide protection, grip and durability where required. |
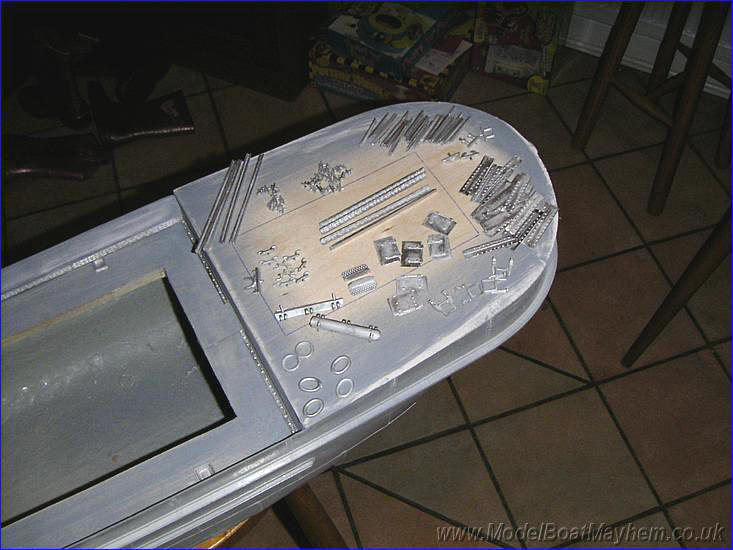 |
Starting to sort through the hundreds of deck fittings. |
 |
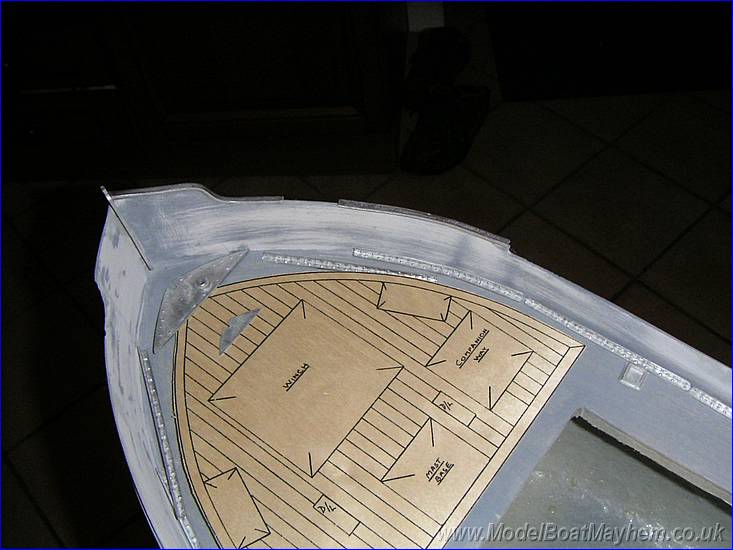
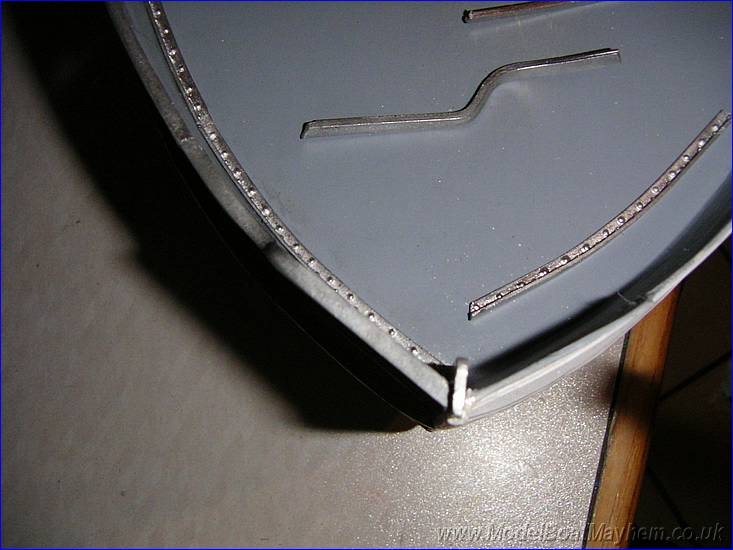
Trial fitting of the white metal
capping strip around the fore deck.
The white metal is easily worked with
your fingers at room temperature. |
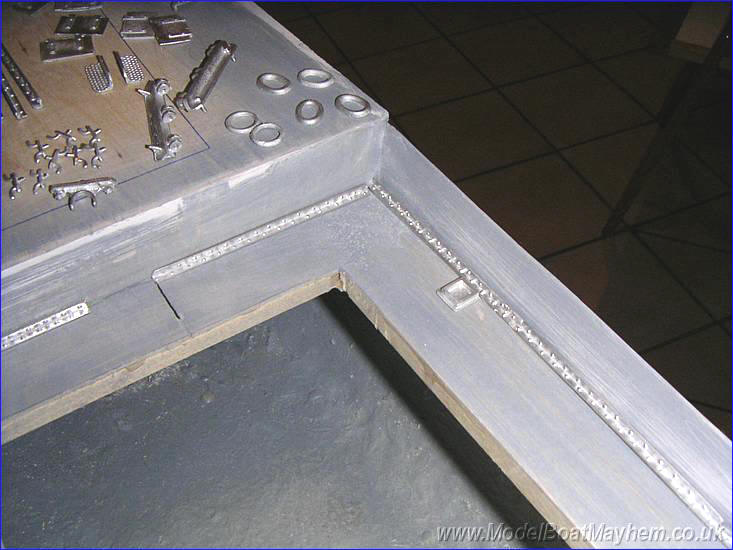 |
Laying out the angle iron to see if
there is enough which there is, in fact there are a couple of bits left
over which is good to see (we hope !). At this point the positions of the
Sampson post bases where marked and then glued into the hull using super
glue. |
 |
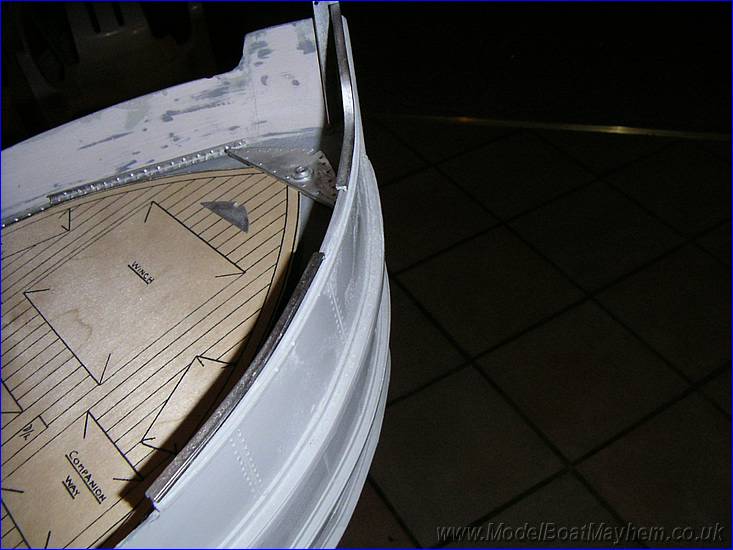
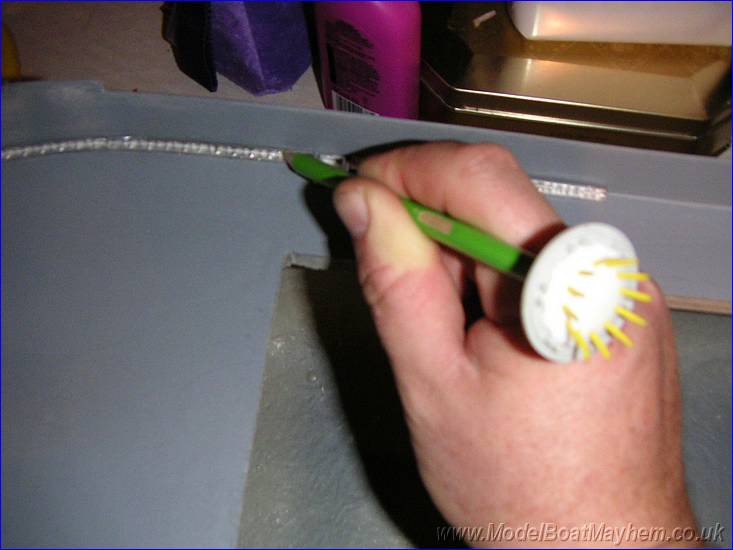
The angle iron pieces are superglued
down but Bradders found that it pays dividends to file off the 'rear'
corner edge so the pieces sit well into the corner between the deck and
gunwales. Hold in place with a pointer until set. |
 |
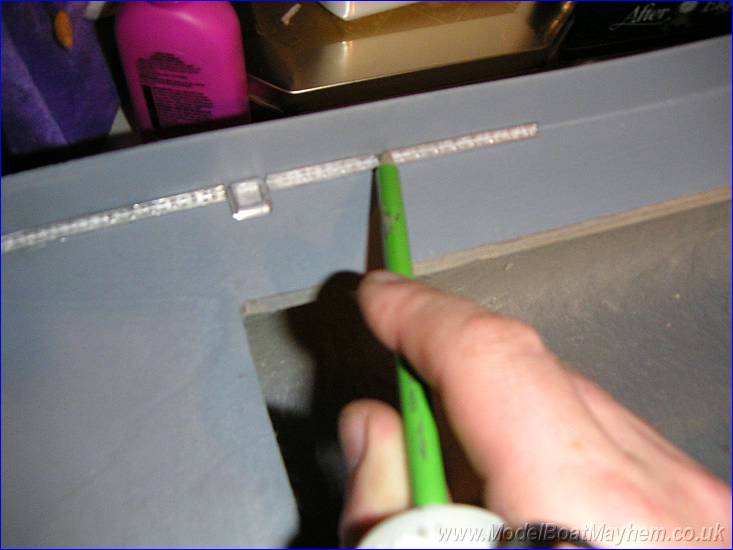
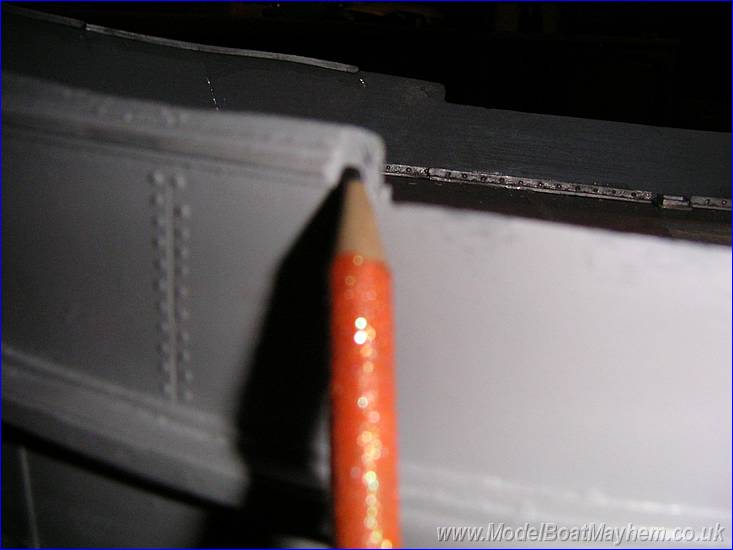
Here Bradders is using a space age Star
Trek laser alignment sonic screwdriver angle fitting tool (part No
6773736453938376356-28872-288 and only £198.45 on Ebay) Actually that thing on the top of
the pencil is meant to be the London Millennium Dome ... and what a
success that was! |
 |
More than enough to go around and still some spare ! |
 |
The stem piece fits nicely after a bit of filing and is glued in using epoxy, along with the white metal capping rails. |
 |
Take your time and all goes together well. |
 |
When starting to cut the wood for the
capping rails (yes these pieces are wood, not white metal, which is a
shame as they will need sanding, sealing etc) Bradders noticed something a bit odd at
this stage. The length between the rear deck along the sides to the bow
step where they go was slightly different on the port side... or on the
starboard side if you prefer! A difference of about 5mm. |
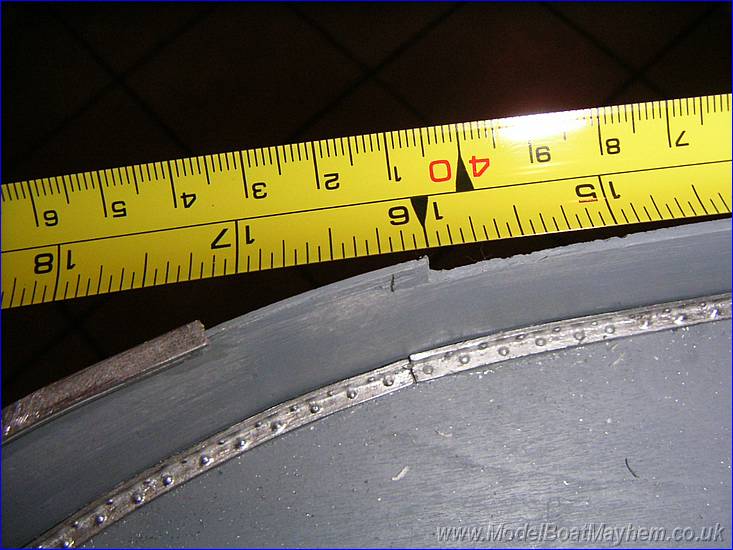 |
The starboard side seems to be a little
long. (The hull come trimmed
to final dimensions by the way, in case you think Bradders had made a
mistake. Impossible I know... he told me ... so there!) |
 |
It's this tiny corner we are talking
about... (Portside) |
 |
... not very important but lets correct it
anyway. (Starboard) |
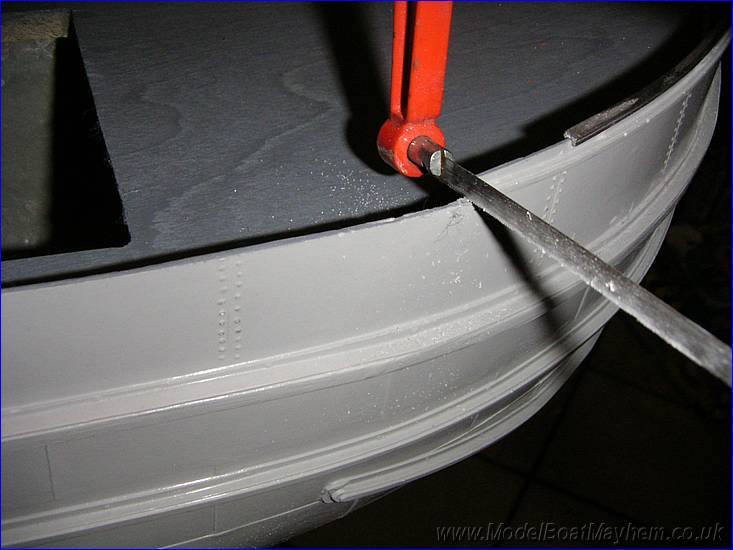 |
Ten seconds with a friendly hacksaw and
a quick file, dab of filler and its done.
|
 |
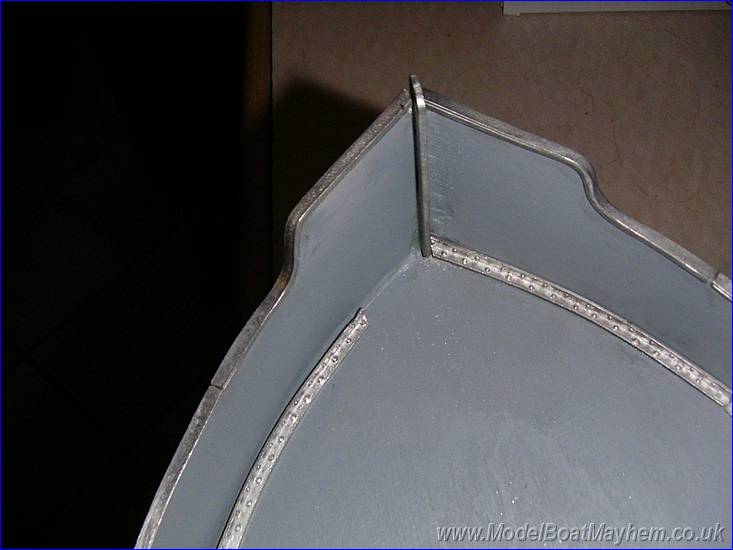
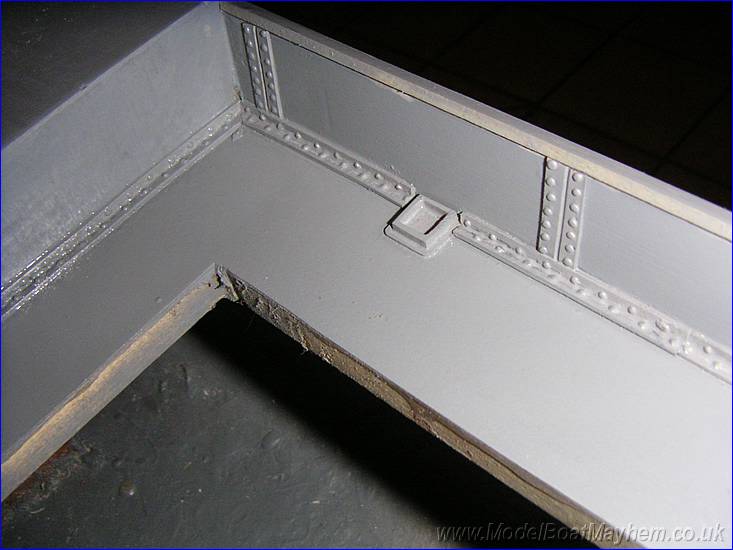
All the angle pieces glued in and the
wooden capping rail along the deck runs. Superglue for the angle iron
pieces and epoxy for the capping rail.
|
 |
The first set of wood strips go in next
using superglue. Remember measure 5 times - glue once! These are level at the extreme bow, its just the way Bradders took the picture that makes them look out (so he says !!) |
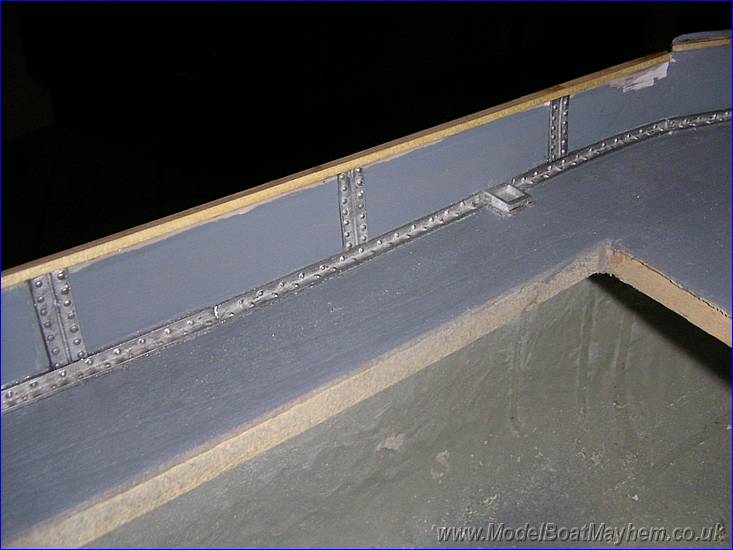 |
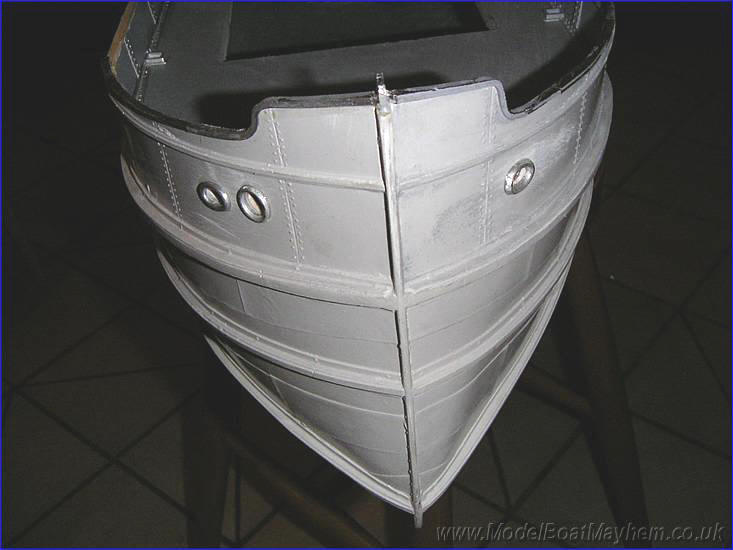
Upon fitting the first plate joiners (staples?) the hull finally stars to look the look the business. |
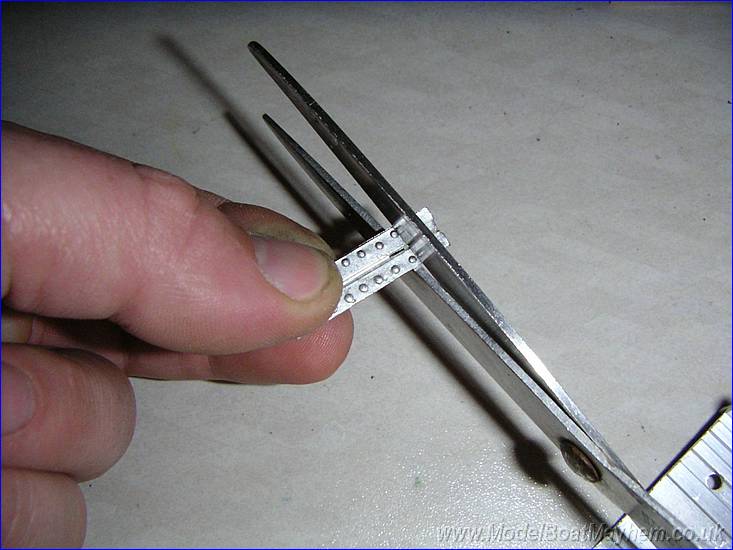 |
The joiners are easily cut to shape
with metal cut-off shears... in this case Mrs Bradders best needlework
scissors! Measure, cut, glue, run for your life! |
 |
A quick blow over with primer reveals what additional work is going to be needed after the angle plates have all bee fitted. Nothing much, only a few small gaps and blemishes. |
 |
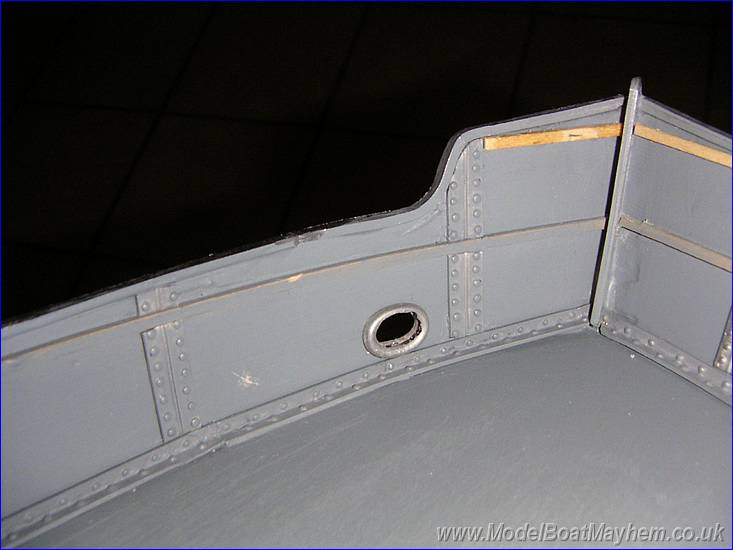
A point to note here, in part 7 we mentioned that the deck may tend to rise above the intended line so don't cut out the mooring ports until the deck is in place. |
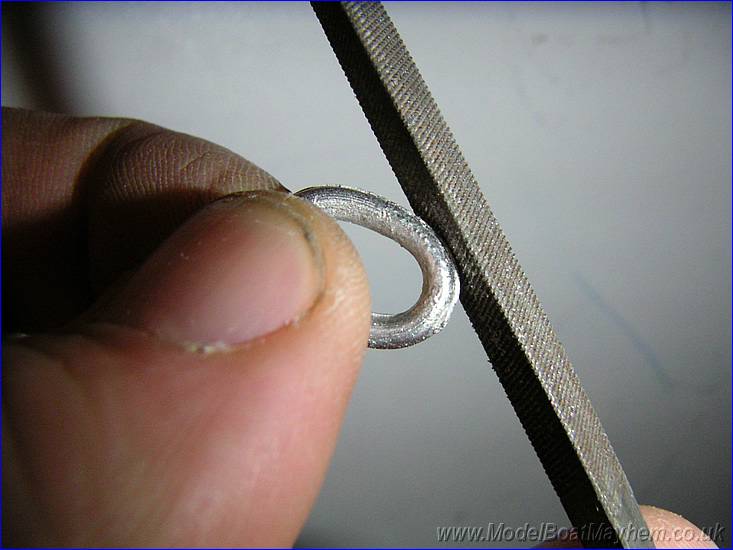 |
The mooring ports surrounds need minimal cleaning up but do it anyway! |
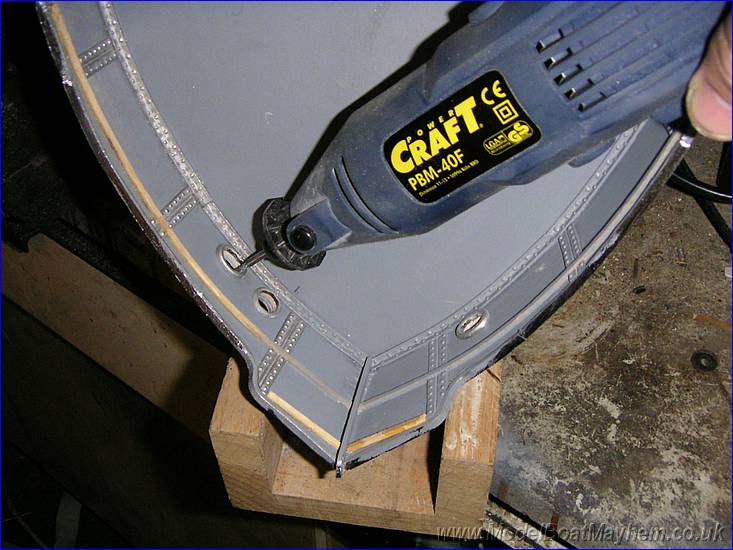 |
A small electric drill and burr were used to eat through the mooring holes |
 |
Make sure you burr doesn't get too
clogged up or you may need up need to fill gouges.
|
 |
All the wood in place and the bows nearly complete. |
 |
The mooring plates being superglued on
and held in place.
|
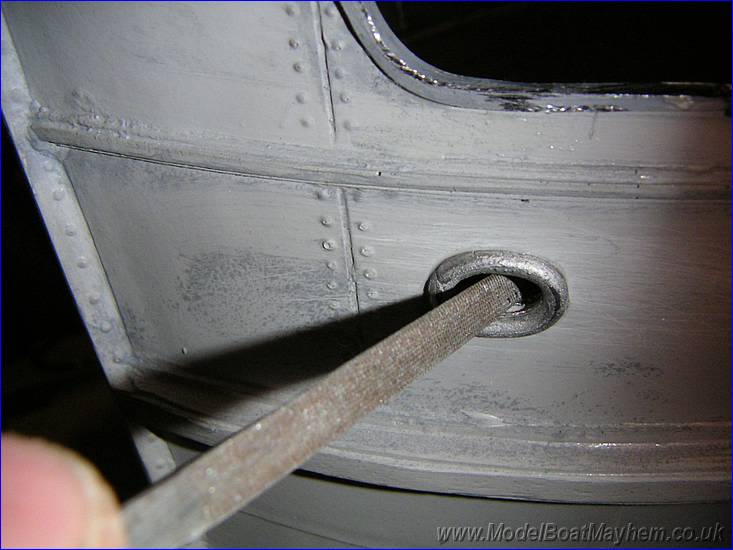 |
Final clean up with a needle file. |
 |
Don't look too bad. |
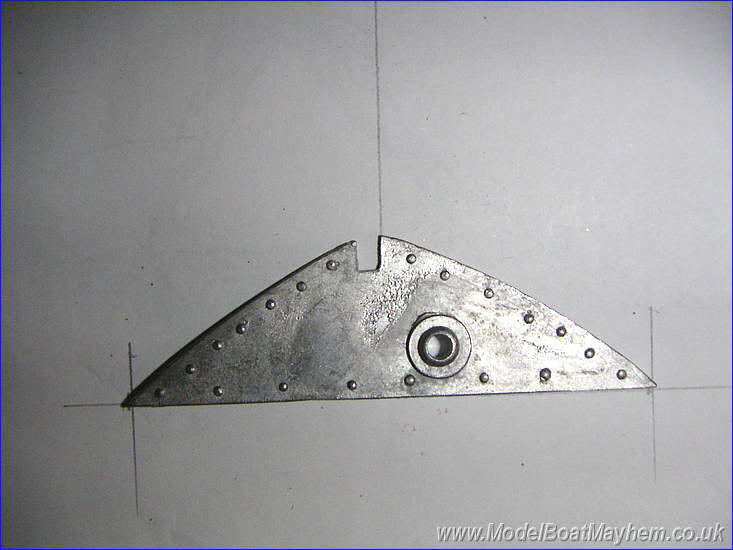 |
Now this is an interesting piece the
large bow plate. Notice something odd? Yeap, the slot that is meant to line up with the stem piece is off centre! |
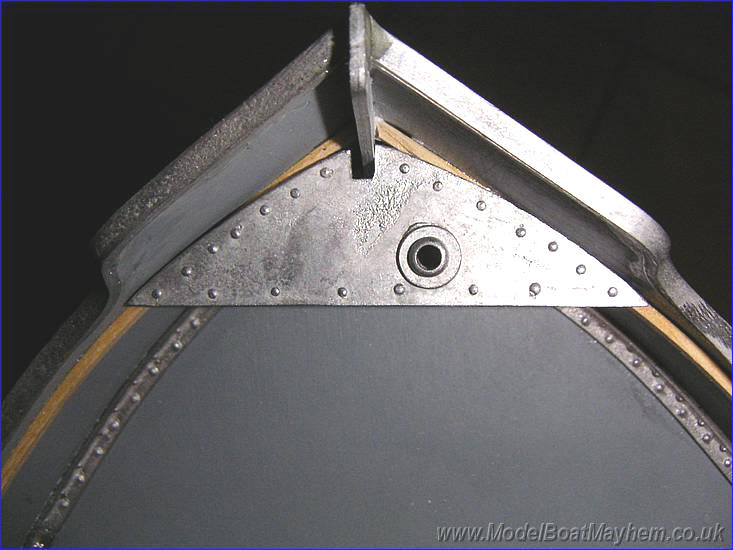 |
And this is how it aligns up! Hmmmm......at this point Bradders went to fetch a hammer, I just left the room, but just managed to get the final picture below.....Bradders looked 'at peace' after a good nights sleep and decided that a slight rework of the plate was all that was needed. |
 |
We'll tackle the bow plate and winch next, and crack on with the main hatch. |
|
|
|